Why your Camino shoes matter so much
You will take hundreds of thousands of steps on mixed terrain: concrete, dirt farm tracks, cobblestones, and occasional rocky paths. Good footwear should:
- Keep your feet comfortable over long days and back‑to‑back stages.
- Minimise friction, moisture, and pressure points that lead to blisters.
- Support your joints enough to avoid overuse injuries and tendon pain.
Because feet swell, weather changes, and surfaces vary, the “perfect” shoe is less about brand and more about fit, structure, and how you plan to walk.
Want a detailed, step‑by‑step process (with printable checklist) to choose and test your Camino shoes? Check out the Camino Shoes Guide here: Get the Camino Shoes Guide.
Boots, hiking shoes, or trail runners?
Most pilgrims now walk in either light hiking shoes or trail runners, with fewer using full boots than in the past. Each option has pros and cons.
- Hiking boots
- Pros: More ankle support, durable, good on rough or muddy terrain.
- Cons: Heavier, hotter, slower to dry, need more break‑in time.
- Low‑cut hiking shoes
- Pros: More support and protection than runners, but lighter than boots.
- Cons: Can still feel warm and stiff for some walkers.
- Trail runners
- Pros: Light, breathable, dry fast, usually comfortable with minimal break‑in.
- Cons: Less ankle protection and may wear out on very long routes.
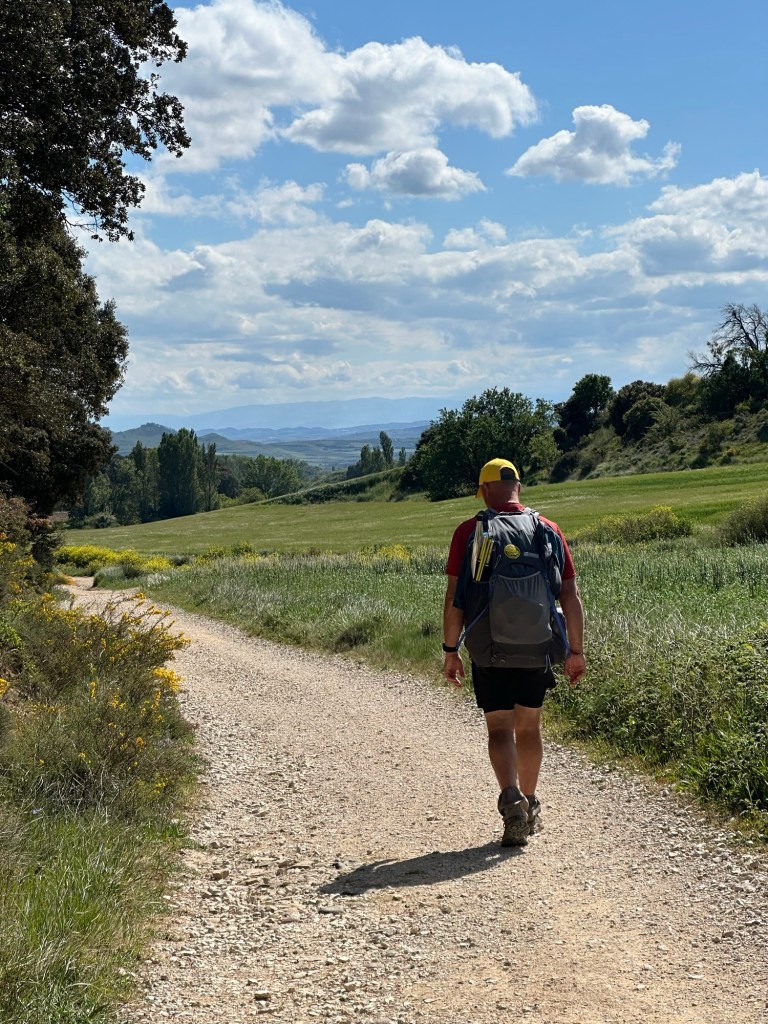
Flatter, better‑surfaced routes like the Camino Portugués often suit trail runners well, while rockier, wetter sections or heavier pack weights may push you toward a more structured hiking shoe or boot.
The downloadable guide goes into the pros and cons of the major shoe options: See the Camino Shoes Guide.
Getting the fit right (and avoiding blisters)
Almost every blister story on the Camino starts with some combination of poor fit, heat, moisture, and friction. Focus on these basics:
- Toe room: Aim for roughly a thumb‑width of space in front of your longest toe so your toes are not smashed on descents.
- Width: If your feet are wide, look at brands and models known for roomy toe boxes; cramped forefeet are blister magnets.
- Heel lock: Your heel should sit snugly with minimal up‑and‑down movement to reduce rubbing.
- Socks: Use moisture‑wicking, seamless socks (often wool or synthetic), and consider a liner sock if you are prone to hot spots.
Train in the exact shoe/sock combination you will take, on back‑to‑back days, before you ever leave for Spain or Portugal.
The Camino Shoes Guide includes a “fit checklist” you can take to the store and a home test protocol to run before committing: Download it here.
How many pairs do you need?
Many pilgrims successfully walk with one primary pair of shoes plus a very light backup.
- One main pair you use for the actual walking (boots, hiking shoes, or trail runners).
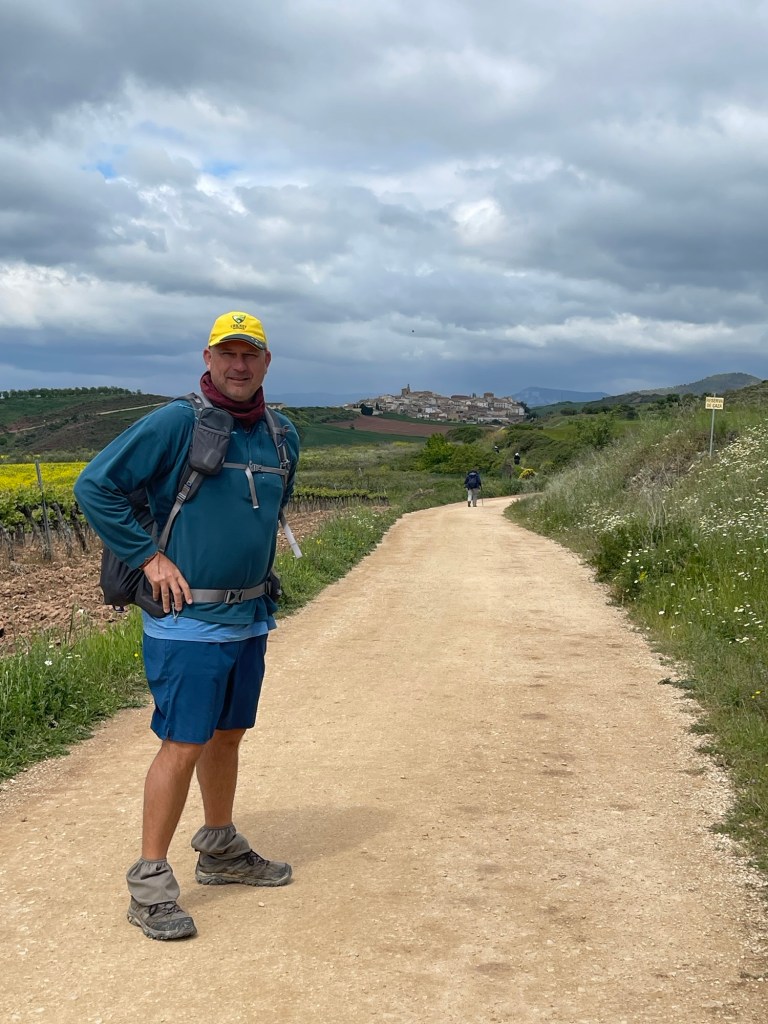
- One backup or camp pair such as sandals or very light trainers, so your feet can breathe in the evenings and you have a fallback if something fails. I carried tevo walking sandals and mostly wore them in the evening to rest my feet and allow them to breathe.
On long routes (full Francés or longer combined Caminos), some people burn through a pair of soft trail runners before Santiago; if your shoes are already partly worn, factor in the possibility of buying a replacement pair en route.
I can recommend Mountain Sports in Burgos and also the little sports store on the left of the main square at Portomarin for those who start in Sarria but don’t have a good shoe experience, loads of great shoes and proper wool socks available (yes they make a difference).
Breaking your shoes in (properly)
New shoes plus untested feet is a recipe for a rough first week. Give yourself several weeks to:
- Walk progressively longer distances in your Camino shoes (including back‑to‑back days).
- Test them on different surfaces: pavement, gravel, dirt, a few hills.
- Experiment with lacing techniques to relieve pressure on the top of the foot or prevent heel slippage.
If something consistently rubs, pinches, or feels wrong during training, it will almost certainly feel worse after 20 days of walking with a pack.

When to get the full shoes guide
Use this article to:
- Decide broadly between boots, hiking shoes, or trail runners.
- Understand why fit, socks, and training matter more than any single brand name.
- Start testing at home with what you already own.
If you want more help after that, the Camino Shoes Guide is available for download.

Leave a comment